Wednesday 31 October 2012

Create and Edit a Wiki in SharePoint Foundation

Editing SharePoint Wiki
First start with the Home page of the wiki, or any page in the Wiki where you hope to create a new page. Click the Page tab on the top right hand side of the page.  If you don't have a Page tab you don't have rights to edit the page.
Editing SharePoint Wiki
Clicking page brings up SharePoint's Ribbon.  Click View All Pages in the Ribbon to see a List of All Pages in the Wiki

Editing SharePoint Wiki
This brings up a list of all the Wiki Pages
To Add a new wiki page click the Add New Page link at the bottom of the list.  Provide a title for the Wiki page.  Be careful to not make any typos in the title, as it is will be used as the Wiki page name even if you change the title in the future. Click create.
Editing SharePoint Wiki
This creates a new blank wiki page.  It is critical that if you are going to paste text in to the page you use the Paste, Pates plaintext link in the Ribbon.  If you just use Ctrl -V to paste text you will carry over formatting from the original document, that can make you page look inconsistent, be hard to manage, and maybe not even show up properly on some machines.

Editing SharePoint Wiki
SharePoint Foundation provides the Ribbon to Edit Text.  To save changes to the new Wiki click Save & Close.  To edit a Wiki Page click the Page Tab and first Check Out (to Check Out the Document) and Edit.  Both Check Out and Edit are in the right hand of the Ribbon.  Once you are dune editing a page click Check In on the top Ribbon.  Checking in will ask you to provide a comment for the version, and to fill out all necessary Metatadata
 

Editing SharePoint Wiki
To add a href link to any web page on the Internet or intranet, you click Insert, highlight the text and click Link.

Editing SharePoint Wiki
With version control turned on for Wikis each check-in creates a new version.  You can view version history by going to the Wiki Library, mousing over a item and right mousing clicking.  From the menu that shows up select Version history.

Tuesday 16 October 2012

Creating a SharePoint Foundation Wiki Lesson 1


First Create a Web Application

In this project we are going to create a wiki using SharePoint 2010 Foundation.  Foundation does not support Enterprise Wikis, Managed Metadata or Publishing so you might wonder why one would use it to make a wiki.  The reason is that Foundation is free, so if you have limited budget or you don't know how many users might access your wiki it may make good sense to use Foundation.

In later lessons I will cover some tricks of getting more Information Architecture out of your Foundation Wiki, but today we cover the basics.

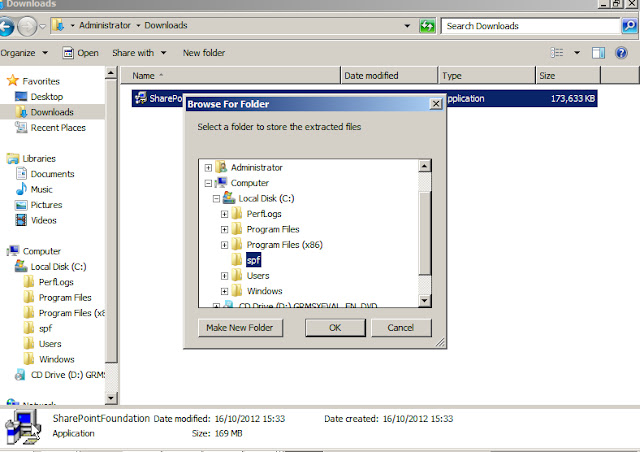
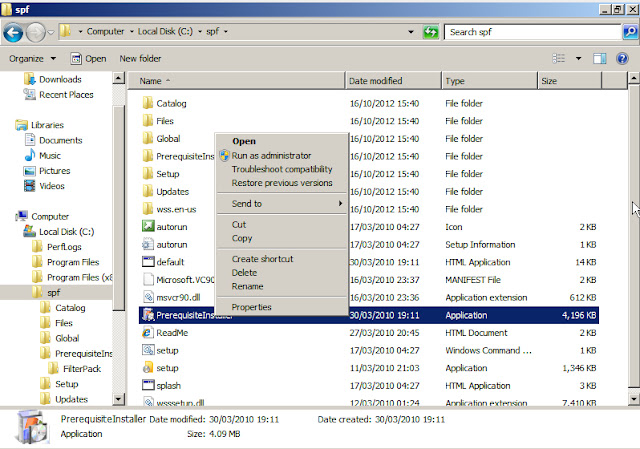
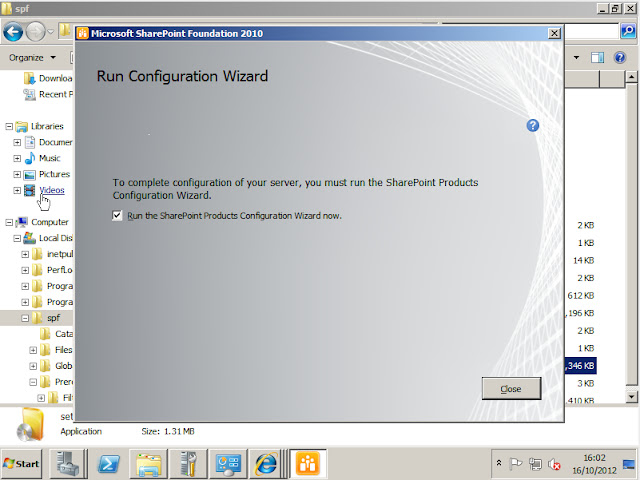
We start with an installation of SharePoint Foundation.  If you need to cover installing them I have an intro in creating a stand alone Foundation server here, with an excellent 3rd Party YouTube video.

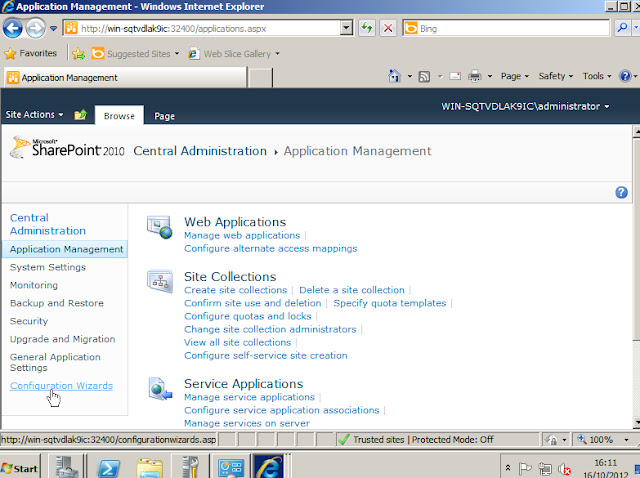
I start by opening the SharePoint Central Admin as seen below.


Click Manage Web Applications, this opens the Web Application page.  If there already is a web application on port 80 I would delete it and start over, as this is going to be a stand alone web application with only a Wiki on it.  Click create when there is no other web applicaiton on port 80.


This brings up the Web Applicatino configuration page.  I am keeping it very simple so I am going to used Classic Mode Authentication with NTLM on port 80.

Again keeping it simple I am not using a Managed Account for the Application Pool.  Only do this in a development or demonstration book, in a real solution use a managed service. Now run th creation.

SharePoint may take a good deal of time to do this.  Remember everything it has to do.  It has to create a new IIS application and deploy the code to the Web Applicaion and write to the database.

Create A Site Collection

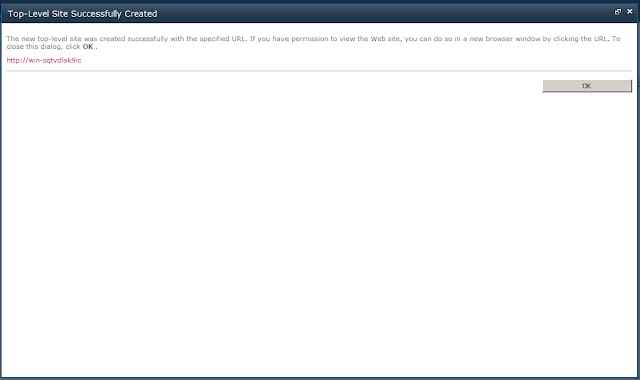
Once a Web Application is created you get this message below.

When first created a web application is just an empty ISS web application.  You need to define a Site Collection to sit at the top of the web applicaiton.  Since we are using Foundation we can't create an Enterprise Wiki so we need to create a Team Site. Below shows a dunny team site I created called Post Office.

You need to define an administrator to have control of it.  Once it is done running you get this message telling you the site has been created.  You can click on the link to see the page.  If you created a different administrator than the one you are logged in as you will not be able to see the page.


The first page is OTB Team Site splash page, which were are going to change.  This is how we change it.


Create the Wiki

We click the Quick Launch link on the left hand side to open All Site Content.  We click the Create button.

In the Libraries select Wiki Page Library


Give the Wiki a Name, Description and decide if you want it to show up on teh Quick Launch page.

This creates an OTB wiki page.  You will now build the wiki using the WYSIWYG browser tool.  But we are going to make some configurations.


On the Ribbon we click Page, we can then click Make Homepage, which puts the Wiki page at the very top of the Web Applicaiton.


Now we want to changes the style.  We click Site Actions> Site Settings.

Then we select Site Themes


And we select a color scheme we like.


Standalone installation of SharePoint Foundation 2010


Best introduction to extraction and doing a proper install.  But be warned, this is for stand alone installation, any Enterprise installation is going to need the missing steps of pointing to a SQL Sever database.

Still a stand alone SharePoint Foundation server will be useful for design, development, and demonstration.  So if you are looking to learn SharePoint this build makes sense.  I have developed this on a Virtual Box VM running in 64 bit mode on my iMac.  Perfect environment for learning and experimentation.

The following are the key steps in building a stand alone SharePoint 2010 Foundation Server.


First you download the code.


The download file is SharePointFoundation.exe, do not run this but extract it to a directory.  My directory is c:/swp.


To extract a file run the command line for the file adding the command /extract after


Select the file you wish to extract it to.  This is the recommended way to run install, for it allows you to run Pre-requisit check and install seperately.


Run the PreequisitInstaller as administrator


Accept the license


The installer will find missing prerequisites and install them. I found I had to run this twice to get it working, so if you get an error run it again.


Preparation tool running.


Successful prerequisite install.


Now select Setup and run as administrator


Accept the license


In this case we select standalone, which is a far simpler installation.  Click next and SharePoint installs automatically.  The you will need to run the SharePoint Configuration tool before you can use.


The welcome screen of SharePoint Configuration Wizard


Click the Run the SharePoint Product Configuration Wizard.  Again much of this is okay for standalone but you may want to configure service roles in a Production environment using PowerShell.


Configuration runs


When completed you will get this window, which means you have installed SharePoint.  You can now access the SharePoint Central Admin shown below.